Wednesday, November 30, 2016

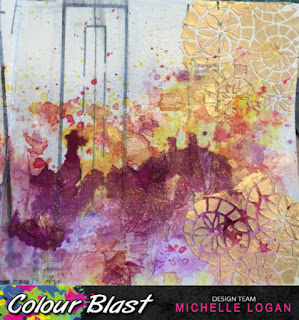
"Presence of Wonder........", art journal play for Colour Blast.

Hey everyone, 
I am back with my latest Art Journal Page playing with loads of Colour Blast goodies!
So with out further Hoo Ha here is the page:

So here is a step by step how I created it:

Glue down tissue with Gel Medium. I have used an old sewing pattern. Once dry I added a wash of white Gesso making the  black lines recede into the background.


Once dry I splashed around some colour using the vibrant  Colour Sprays. I started with the lighter colours then moving progressively darker. I added water between colours to move the splashes around creating a water colour effect. The colours I used are SaffronSunsetBubblegum and Grape.

 
Move the page around creating "drippage" and merging colours to get some interesting merging puddles of colour.
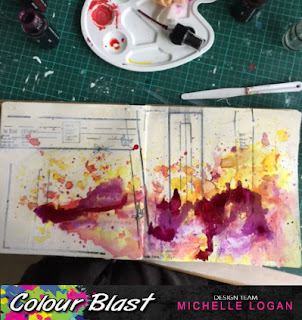

 Once dry I wanted to add a little shine to the page so I sprayed with Colour Shimmer Spray in Bling. It adds a wonderful subtle shine!

Next it is time for my favourite Colour Paste, Bling, used through a stencil along the edges of the page.


You can see all that wonderful shimmer that the Bling Shimmer Spray gives!

Once dry, I added some stamped images using archival ink across the page. 


I added strips of old book paper to add a little dimension.

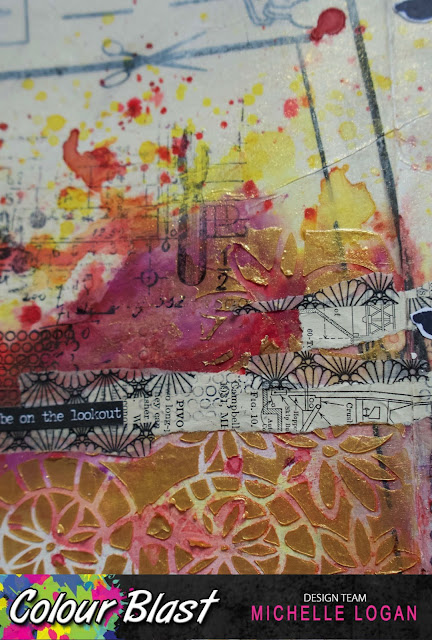
    Adding the finishing touches, torn washi tape,  a small quote strip, stamped small butterflies to flutter across the double page and a large Butterfly Silhouette.


         And that my friends is it, Art Journal Page done and dusted!
         A very simple quick and easy process, why not give it a go? 
        Here are a few detailed shots for you all. 


        Thanks so much for dropping by!
        Michelle


        Wednesday, November 23, 2016

        "Whimsical Wings"

        Hey there everyone, I am back with a project I created just for the fun of it! 
        Have no idea what to call it so it is just a winged thing!
        So here is the project, so so much fun to do!


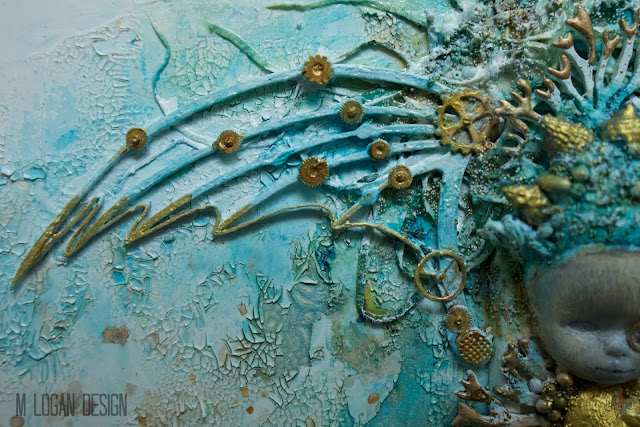
        The base is a timber board that I coated with a layer of white Gesso, then added a layer of cheap joint medium to create a background with dimension replicating an old wall.


        I also added a layer of crackle paste, trying to add a peeling paint look to that wall!


         I collected loads of stuff from my stash including an antique door plate that was a good fit as a "body" and a doll, that I ripped the head off......(strangely satisfying!).


        I used shells, Scrap FX chipboard coral and wings, watch parts, art stones, micro beads and beads to make up my whimsical creature.


        The doll only had a little bit of hair so I added shredded paper to the background to give her more flowing locks!


        I glued everything down with heavy gel medium and the joint medium was a great filler behind the  door plate and makes a great glue to the base!


         Once all was dry, the real fun began....adding tons of colour!


         This is when all those wonderful cracks and texture come to the fore!


        Gold paint embossing powders & pigment powders all add to the effect.


        Well, that was a whole heap of messy fun, I hope you like her and a name would be great! So, if anyone can think of one feel free!
        Till next time!

        Michelle


        Monday, November 14, 2016

        "She Be Fearless" Art journal Fun for colour Blast


        Hi everyone time for a catch up
         with a project using lots of Colour Blast goodness!
        So here she is, my girl with a bit of drama.


        This piece started as a bit of an experiment but I loved how she ended up!
        Here is how I did it:

        First up I spread Light Texture paste over a sheet of water colour paper with a palette knife.


          The paste has a grainy absorbant texture that I wanted to try the Shimmer Dusts and Mica Powders on to see what they would do on this very different surface. I did not want a totally smooth surface so I left the lines created by the palette knife. 


             OOPS ..... I was a little excited by what I wanted to do I forgot to take a pic of the next step!
            Anyway here is what I did: after drying the paste I used Colour Paste in 
            through a stencil.


              Once the paste was dry I then created some loose flowers with the light paste.


                 Now the fun part.....after selecting my colours out of the Colour Shimmer Dust. I have used SunflowerAmber and Lollipop


                   I sprinkled the dust on the wet paste flowers.


                    then I sprayed with water and let the dusts do what they do best....colour magic!


                      Then I wanted a little more shimmer so added some Colour Mica Powder in Lemon Zing and Peach Nectar to the "watered" flowers to see what effect they would have.


                        I needed more water to activate the Colour Mica Powders and create some Drippage! 
                        I had colour going everywhere but working with water activated products is not an exact science, so just have to go with it! Then I had to leave it alone to dry before adding any more details to her.


                        I added my details using more of the Colour Shimmer Dusts with a water brush and a Stabillo all pencil (it is water soluble). Because the paste surface is porous, once the water hits the colour it fans out so her face will not have perfect details, but it gives her an ethereal other worldly look (if you know what I mean) look. 


                          The surface took a bit of getting used to, but was easy to take colour off with a baby wipe then add again till I was happy.  


                            I wanted to create a bit more drama to the background and make her pop, but I did not think plain black would cut it, so I used Midnight Colour Shimmer Dust combined with Wisteria Colour Mica Powder to colour the edges of the page. 


                               Because of the uneven surface the added colour created its own pattern, I loved the look.


                                So here she is with lots of added dramatic darkness. I decided to highlight the blooms with some gold paint applied with my finger just picking up the ridges and edges.
                                Then I added flicks of white Gesso over the background and flowers. 


                                 Still wanted a little extra on the edges of the page by stamping with a grungy background stamp.

                                  I only added the stamping around the edges of the piece.

                                  Finally I used the same Dusty Charcoal Colour Paste to stencil my title and my Fierce Girl was done! 

                                  Here are some detailed shots for you all:


                                  Well that is all from me! 
                                  Hope you have been a little inspired to give this a go.....lots of fun to be had!
                                  Will be back with more catch ups very soon!